
What are Shrinky Dinks?
If you’ve never heard of Shrinky Dinks, you’re in for a real treat! Shrinky Dinks are plastic sheets that you can draw on, cut out, and then bake in the oven. The magic happens when these sheets shrink down to about a quarter of their original size while becoming thicker and sturdier. They’re perfect for creating keychains, ornaments, and even sun catchers, making them a fabulous craft for kids and students.
Gather Your Supplies
Before we dive into the fun part of making your own Shrinky Dinks, you’ll need to gather some supplies. Here’s what you’ll need for this easy, fast, and budget-friendly project:
- Shrinky Dink plastic sheets – I used these
- Permanent markers – retractable are my go-to
- colored pencils – twistables because colored pencils break so easily
- Scissors – decorative cut for extra flair
- Hole Punch – shaped punches for variety
- Oven
- Baking sheet
- Parchment paper
- String, ornament hook, or keyring
That’s it! Most of these items are probably already sitting in your home, making this craft an affordable option for creating thoughtful gifts for your loved ones.

Steps to Create Your Shrinky Dink Creations
Now that you have your supplies, let’s get to the fun part: making your own Shrinky Dinks!
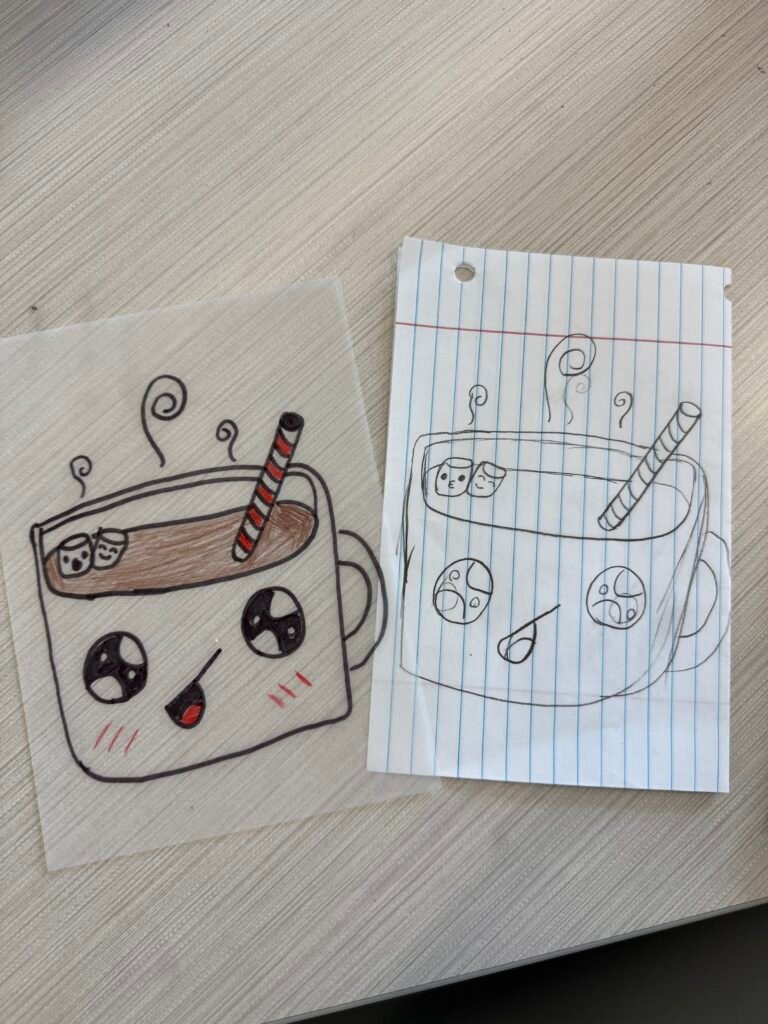
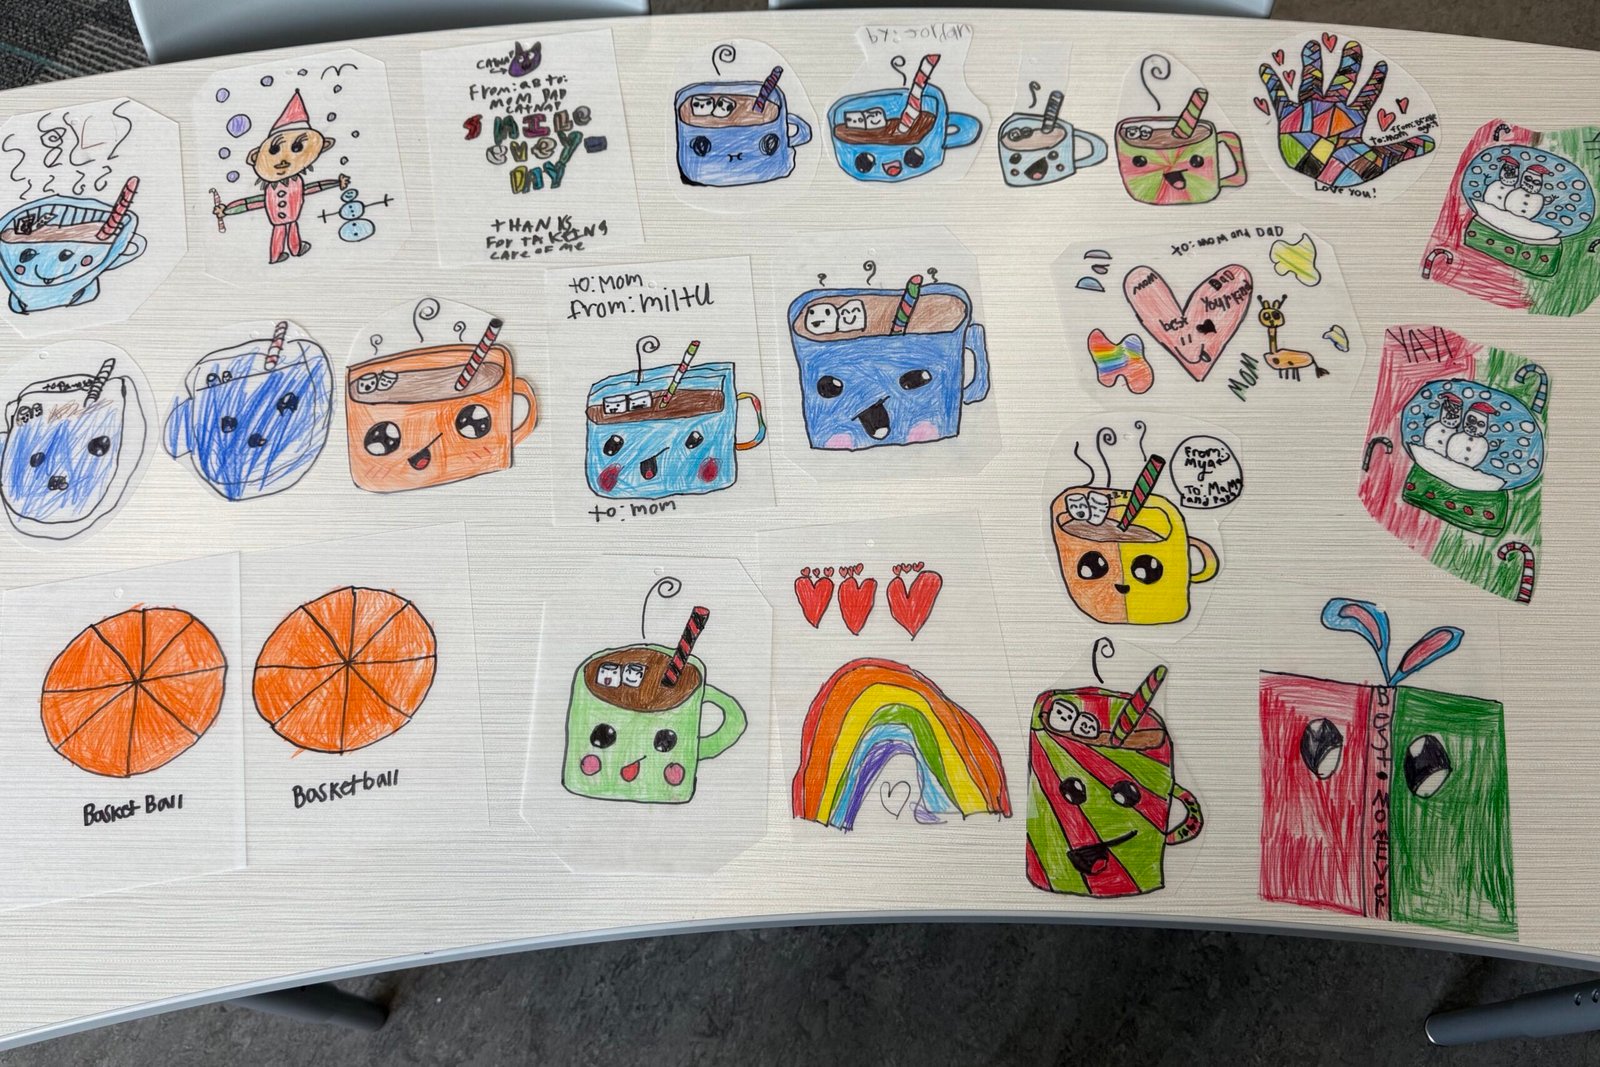
- Design Your Art: Get those creative juices flowing! Use your markers or colored pencils to draw unique designs on the Shrinky Dink plastic sheets. Remember, designs will shrink down, so keep them simple and bold. I like to use artforkidshub.com for ideas. I had kids practice on paper and then they traced their final designs.
- Cut Them Out: Once you’re happy with your drawings, carefully cut out the shapes. Usually I opt for straight cuts but decorative cut scissors are super fun too! You can create various items like keychains, ornaments, or even decorative sun catchers.
- Punch Holes: If you’re making keychains, ornaments, or sun catchers, punch a hole in the top of your design before baking it. This will allow you to attach it later easily.
- Bake Them: Preheat your oven to 325°F (160°C). Place your designs on a baking sheet lined with parchment paper and pop them in the oven for about 2-3 minutes. Make sure to watch closely as they shrink and curl – it’s quite the spectacle!
- The directions said to wait until they flattened out for 30 seconds before taking them out. I started out at 2:45 and by the end was only keeping them in for 2:00 minutes.
- Cool and Assemble: Once they’ve shrunk and flattened out, take them out and let them cool. Voila! You now have personalized keychains, ornaments, or vibrant sun catchers!
And there you have it! A simple, cheap, engaging, and creative craft that your kids or students will love. I already had most of the supplies so this craft only cost me around $10 and some time. Whether you’re making gifts for the holidays, birthdays, or just for fun, creating Shrinky Dinks are a great way to show loved ones you care. Happy crafting!


Leave a Reply