Space is huge. Like, really huge. But when you’re trying to teach kids about the vastness of the solar system, sometimes you have to take a few creative liberties. Whether you’re a teacher, homeschooler, parent, or daycare provider, you’ve probably seen how excited kids get when they start learning about planets, stars, and astronauts. There’s something about outer space that instantly grabs kids’ attention. And with all the amazing space events happening lately, I knew this was the perfect time to bring the solar system to life—craft-style!
Enter: our Coffee Filter Solar Systems, a hands-on project that turned my classroom into a celestial masterpiece (even if it was technically not to scale). It’s easy to set up, fun for kids of all ages, and works whether you’re in a classroom, homeschool, or just looking for an engaging space-themed craft. Plus, they’re really beautiful to look at!
Let me walk you through exactly how we did it—trust me, it’s one of those activities that looks impressive but is totally doable (a win-win in my book and perfect for conference time 😉). 🚀✨
Third graders + coffee filters + washable markers = one amazing solar system! 🌌 Watch how we turned a simple craft into an out-of-this-world display.
Getting Started: Coloring the Planets
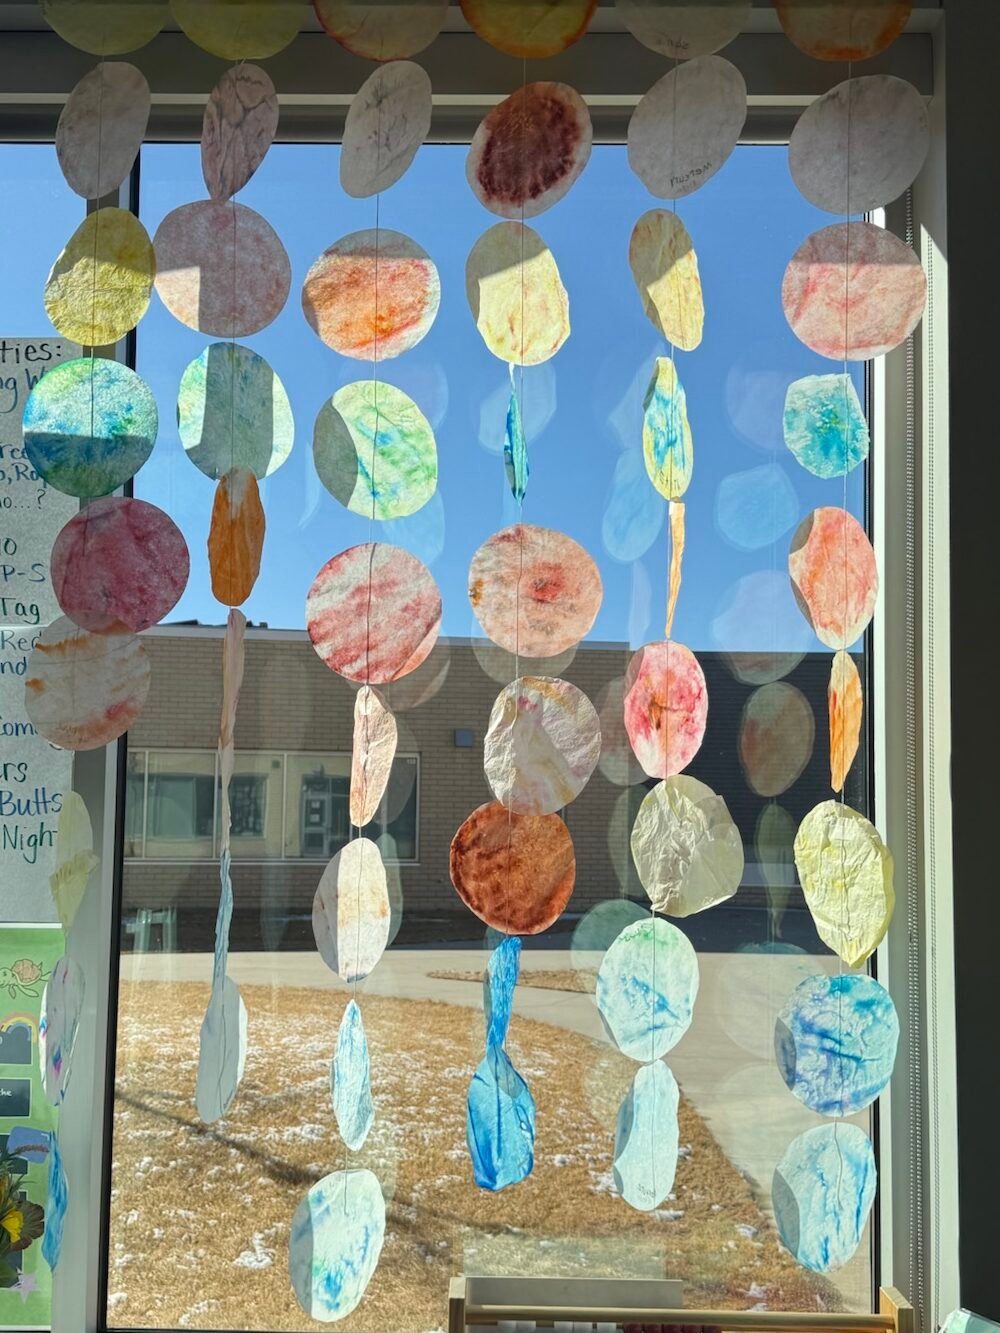
Each table of students worked together to create an entire solar system, which meant each kid was responsible for two or three planets (or the sun). We used large coffee filters (7 ¾ inches) because—let’s be honest—if we tried to be accurate with the size differences, some planets would have been 0.3 inches wide. I explained this to my students, and after a few giggles, they agreed that keeping everything full size was the way to go. I found these 13 inch diameter commercial coffee filters after the fact, might invest in these for next year!
Armed with washable markers, they got to work coloring their planets. The more color they used, the better—lightly scribbled planets turned out meh, while the heavily colored ones ended up bright and vibrant.
The Best Part: Dunking Planets in the Sink
Now, here’s where things got fun. Since we have a sink in our classroom, each student took turns dipping their finished coffee filter straight into the water. They had to hold it at the top so it wouldn’t fold over (which, of course, happened to a few). A quick dunk was best—too long and the colors all muddied together.
After their planets took their quick bath, we laid them out on paper towels on the floor to dry. The classroom turned into a mini observatory with wet planets everywhere. It took about an hour and a half for them to dry, and then I stacked them under a pile of books overnight to flatten them. Worked like a charm!
Assembly Time: Creating the Solar System
The next day, I passed out the now smooth and dry planets. The students had written their planet name (and their own name) in pencil on the edge. Surprisingly, it didn’t bleed or smudge after getting wet—just dark enough to read but light enough to blend into the artwork.
Now, for the most important step: assembling the solar system in the correct order. Armed with precut string (measured to the height of our windows), each student taped their planets in order. We made sure the tape was at the top, so the planets didn’t fold over when we hung them.
Hanging Our Celestial Masterpiece
We have a lot of windows in our classroom, so we hung the solar systems vertically, turning our room into a mini planetarium. It looked amazing—a colorful, glowing solar system right in front of us!
If you want to switch it up, you could also:
🌟 Drape the string across the ceiling (if you have LED lights).
🌟 Tie the strings to drop ceiling supports and even space the planets to scale (if you’re ambitious).
Why This Was a Win
This was such a fun way to pause our astronomy unit, and now we have a classroom decoration that the kids are obsessed with (honestly, so am I). They check out their planets daily, pointing out which ones they made and admiring the whole display.
If you’re looking for an engaging, easy-to-prep space craft, this one’s a keeper! Whether you’re in a classroom, homeschool, or just looking for a cool space project, this activity is spectacular. 🚀✨
Try This with Your Kids! 🚀
If you try this activity, I’d love to hear how it goes! Drop a comment below or tag me on Instagram @BeckyLynn_TeachandThrive—I always love seeing these projects in action.
✨ Shoutout! ✨ A huge thank you to @CKLAinthird on Instagram for the amazing Coffee Filter Planet Craft idea! If you’re looking for more great teaching resources, check out her TpT store here: CKLA in Third.
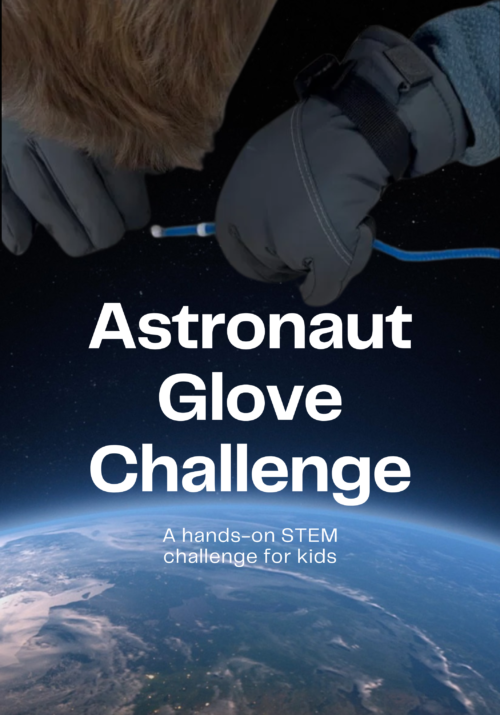
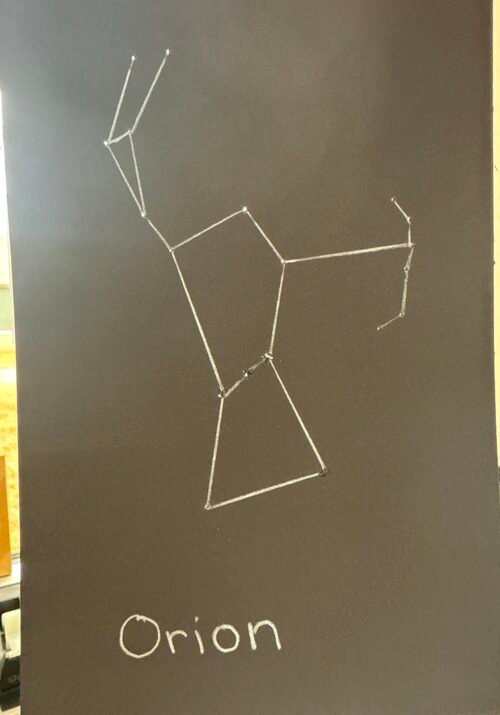
Want to add even more space-themed fun to your unit? Check out our Constellation Project, where kids create their own star patterns using push pins, black paper, and a little bit of magic!
Happy stargazing (and crafting)! 🌎✨😉


Leave a Reply